Key Takeaways
- Importance of User Testing: User testing is essential for identifying bugs and optimizing user experience.
- Continuous Process: Testing should occur throughout development and after launch for ongoing improvements.
- Defining Goals: Establish clear objectives for what you want to achieve with each test.
- Choosing Methods: Select between in-person or remote, moderated or unmoderated testing based on your needs.
- Participant Selection: Target users who reflect your app’s audience for more accurate results.
What is User Testing?
Before we continue, let’s start with the basics to make sure we’re all on the same page. User testing can be defined as the process of testing the interface and functions of an app, product, website, or service. The purpose of these tests is to determine if the product in question (an app in our case) is ready for launch. You’re essentially checking the usability of your app as real people perform specific tests in a realistic testing environment. Can your app be used naturally by a person who isn’t familiar with it? The only way to answer this question is with user testing.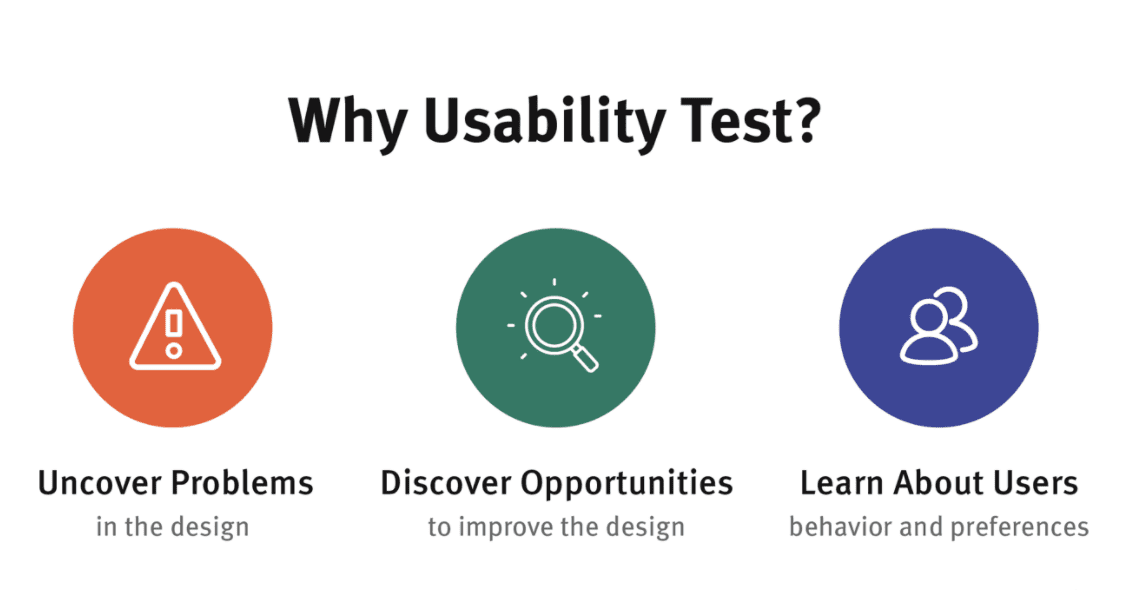 As someone who has been involved throughout the development process, you can’t unbiasedly test your app’s usability on your own. Tests must be conducted by people who are neutral and don’t know how the app is supposed to work.
From a UI and UX design perspective, user testing is an absolute must. Even if you think the design and layout of your app are perfect, you’ll need to run usability tests to confirm your hypothesis.
While user testing should be conducted prior to launch, it shouldn’t stop once your app is live.
User testing is a continuous process. It’s one of the best ways to continually improve your app’s UI/UX design, especially as you come out with new updates and changes.
As someone who has been involved throughout the development process, you can’t unbiasedly test your app’s usability on your own. Tests must be conducted by people who are neutral and don’t know how the app is supposed to work.
From a UI and UX design perspective, user testing is an absolute must. Even if you think the design and layout of your app are perfect, you’ll need to run usability tests to confirm your hypothesis.
While user testing should be conducted prior to launch, it shouldn’t stop once your app is live.
User testing is a continuous process. It’s one of the best ways to continually improve your app’s UI/UX design, especially as you come out with new updates and changes.
How to Conduct App User Testing in 6 Simple Steps
User testing isn’t really a one-size-fits-all process. But with years of experience conducting user tests, I’ve been able to narrow down the core steps to include in your testing. Whether this is your first user test or 100th user test, the step-by-step guide outlined below will be the best way to conduct the user tests for your app. These steps are explained in a way that can be customized to fit any type of app or development project. Here’s what you need to do:Step #1: Define Your Goals
Like any experiment, the first step to user testing is defining your goals. What exactly do you want to test? You can’t start until this question has been answered. Your usability testing goals will change depending on where your app is in the development lifecycle. For example, some developers will run tests before the actual development phase begins. These types of tests will be centered around the discovery, exploration, and user research of your target market and what they expect in your app. Since you won’t have a functioning app yet, the goals of this type of test will look very different from a test being run just prior to an app’s launch. Concept testing and card sorting are two popular ways to see how users will interact with the features, structure, and hierarchy of your app—even without a functioning product.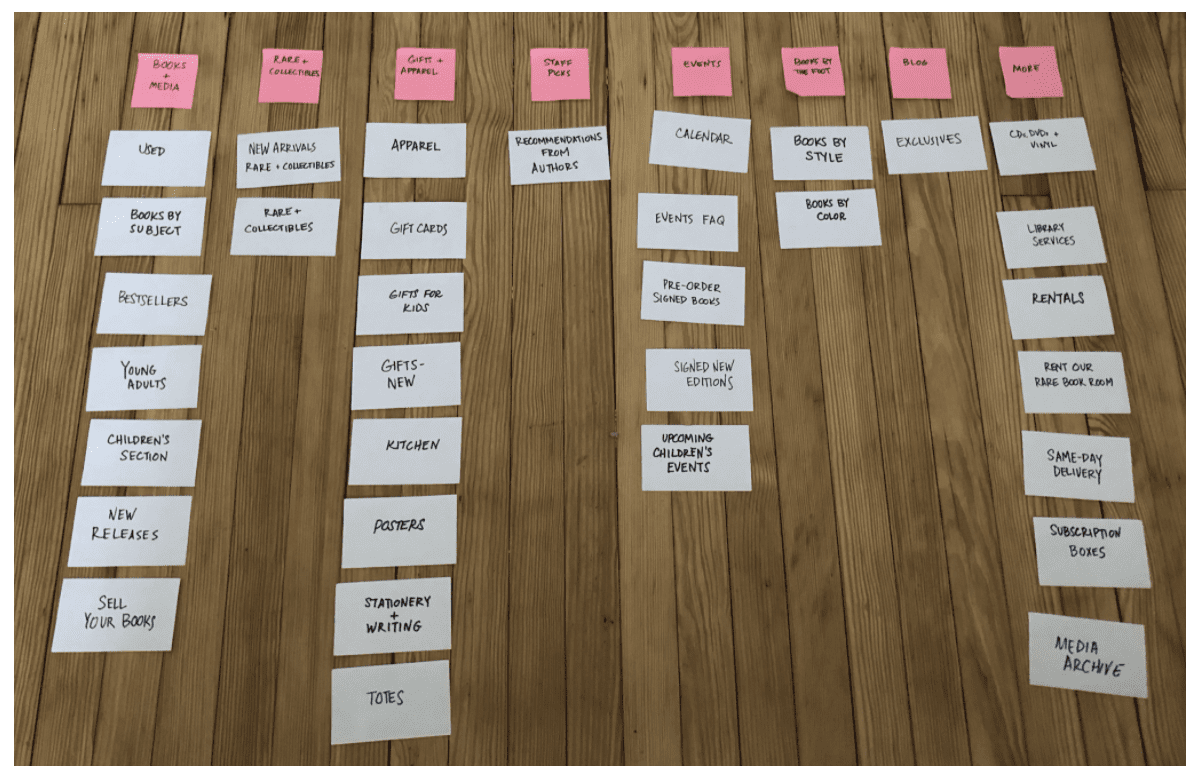 As you run tests during development, your goals should be centered on validation related to the user experience.
While things might look good and make sense on paper during the wireframing of your app, you need to test those theories from a UI/UX perspective once your design team has actually implemented those elements.
Usability testing is not about gathering generic feedback for your app. You should be using these tests to identify specific problems. So focus your goals around this concept.
For example, let’s say you’re testing an ecommerce app. To determine if your navigation is intuitive or not, you can ask yourself questions like:
As you run tests during development, your goals should be centered on validation related to the user experience.
While things might look good and make sense on paper during the wireframing of your app, you need to test those theories from a UI/UX perspective once your design team has actually implemented those elements.
Usability testing is not about gathering generic feedback for your app. You should be using these tests to identify specific problems. So focus your goals around this concept.
For example, let’s say you’re testing an ecommerce app. To determine if your navigation is intuitive or not, you can ask yourself questions like:
- Can a mobile user easily search for a specific product?
- Can users easily add items to their shopping cart?
- Can users complete the checkout process with minimal friction?
Step #2: Determine the Testing Method
Next, you’ll need to figure out exactly how you’re going to conduct the tests. There are lots of different ways that this can happen. But for the most part, user testing can be segmented into the following categories:- In-person moderated
- In-person unmoderated
- Remote moderated
- Remote unmoderated
| Testing Method | Pros | Cons |
|---|---|---|
| In-person Moderated | Deeper insights with real-time feedback | Unnatural for users, labor-intensive |
| In-person Unmoderated | Natural user behavior | Scheduling challenges, potential bias |
| Remote Moderated | Real-time communication | Less natural environment |
| Remote Unmoderated | Cost-effective, natural environment | Lack of real-time feedback |
Step #3: Select the Participants
Now it’s time to find real users to participate in your tests. Don’t just select random people, or you won’t get accurate test results. Hopefully, you’ve already identified a target market for your app by now. But look beyond the demographics like age, sex, marital status, and location. Behavioral targeting is much more valuable here. So look for users who are already using apps that are similar to yours. Recruiting participants that have some interest and prior experience in what your app is trying to accomplish will have much more value than a random user who happens to be a certain age and gender. UserTesting.com is a great platform for finding participants and conducting tests. They even have specific solutions for mobile app user testing.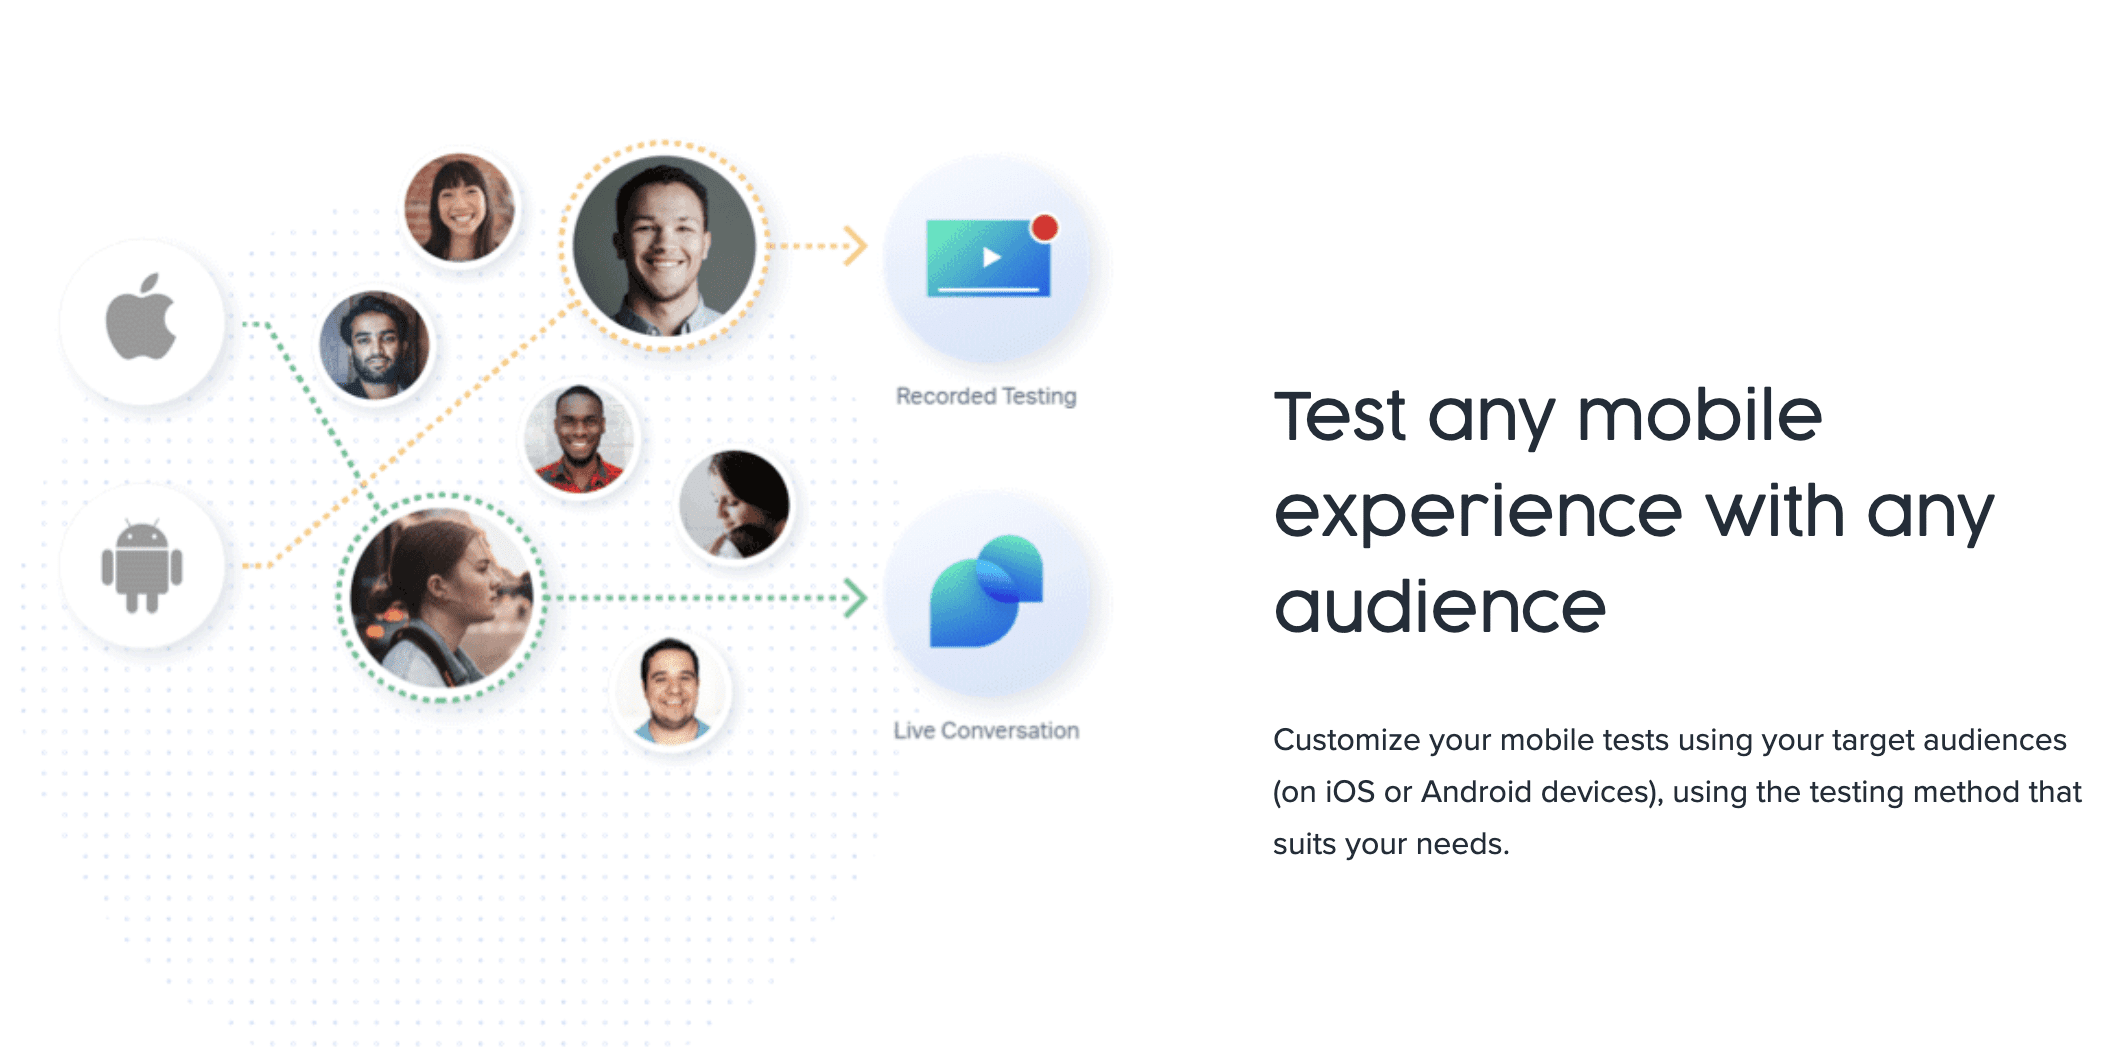 The platform supports multiple testing methods. It’s a popular choice for mobile app prototypes, unreleased apps, apps already available in the Apple App Store and Google Play Store, AR/VR apps, home testing, “out in the wild” testing, and more.
There are plenty of other similar alternatives on the market, but UserTesting.com is definitely one of the most popular solutions for finding and testing participants in one place.
group.com/articles/why-you-only-need-to-test-with-5-users/”>famous study from the Nielsen Norman Group, five is the perfect number.
The platform supports multiple testing methods. It’s a popular choice for mobile app prototypes, unreleased apps, apps already available in the Apple App Store and Google Play Store, AR/VR apps, home testing, “out in the wild” testing, and more.
There are plenty of other similar alternatives on the market, but UserTesting.com is definitely one of the most popular solutions for finding and testing participants in one place.
group.com/articles/why-you-only-need-to-test-with-5-users/”>famous study from the Nielsen Norman Group, five is the perfect number.
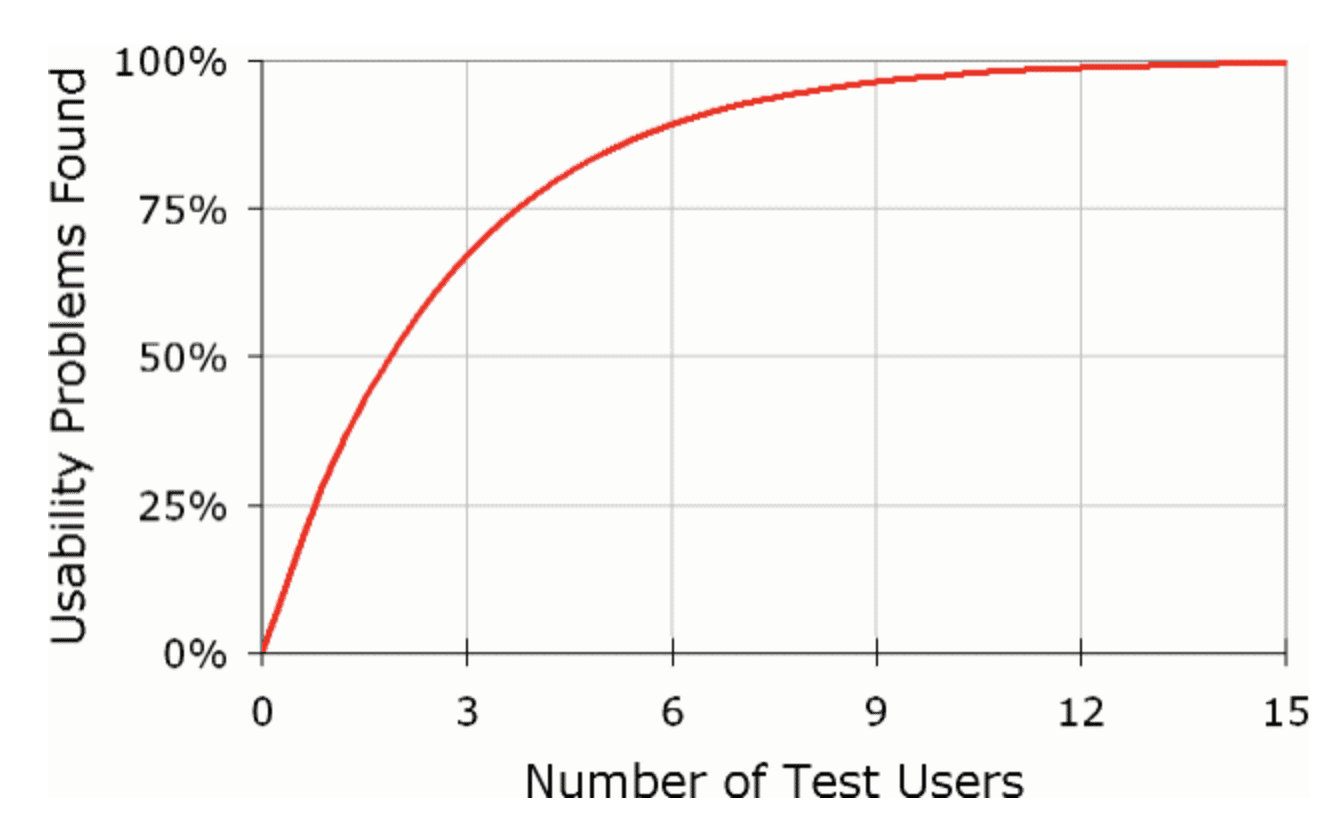 The concept here is pretty simple. If you test zero users, you’ll find zero usability problems (obviously). But as you test more and more people, the number of issues you encounter will start to flatten out.
After a handful of tests, you’ll see the same thing over and over again. So there’s no reason to continue observing things that you already know.
Based on this curve, 15 users is the absolute maximum number of participants you’d need to uncover all usability issues. But most experts recommend between 5-7 participants. Some will say up to ten is ok too.
You might need to offer an incentive to recruit participants. The compensation amount should vary depending on the type of test you’re running. For example, an in-person moderated session could be valued at around $50-$100. But an unmoderated remote test might be worth closer to $15.
The concept here is pretty simple. If you test zero users, you’ll find zero usability problems (obviously). But as you test more and more people, the number of issues you encounter will start to flatten out.
After a handful of tests, you’ll see the same thing over and over again. So there’s no reason to continue observing things that you already know.
Based on this curve, 15 users is the absolute maximum number of participants you’d need to uncover all usability issues. But most experts recommend between 5-7 participants. Some will say up to ten is ok too.
You might need to offer an incentive to recruit participants. The compensation amount should vary depending on the type of test you’re running. For example, an in-person moderated session could be valued at around $50-$100. But an unmoderated remote test might be worth closer to $15.
Step #4: Prepare the Testing Materials and Testing Environment
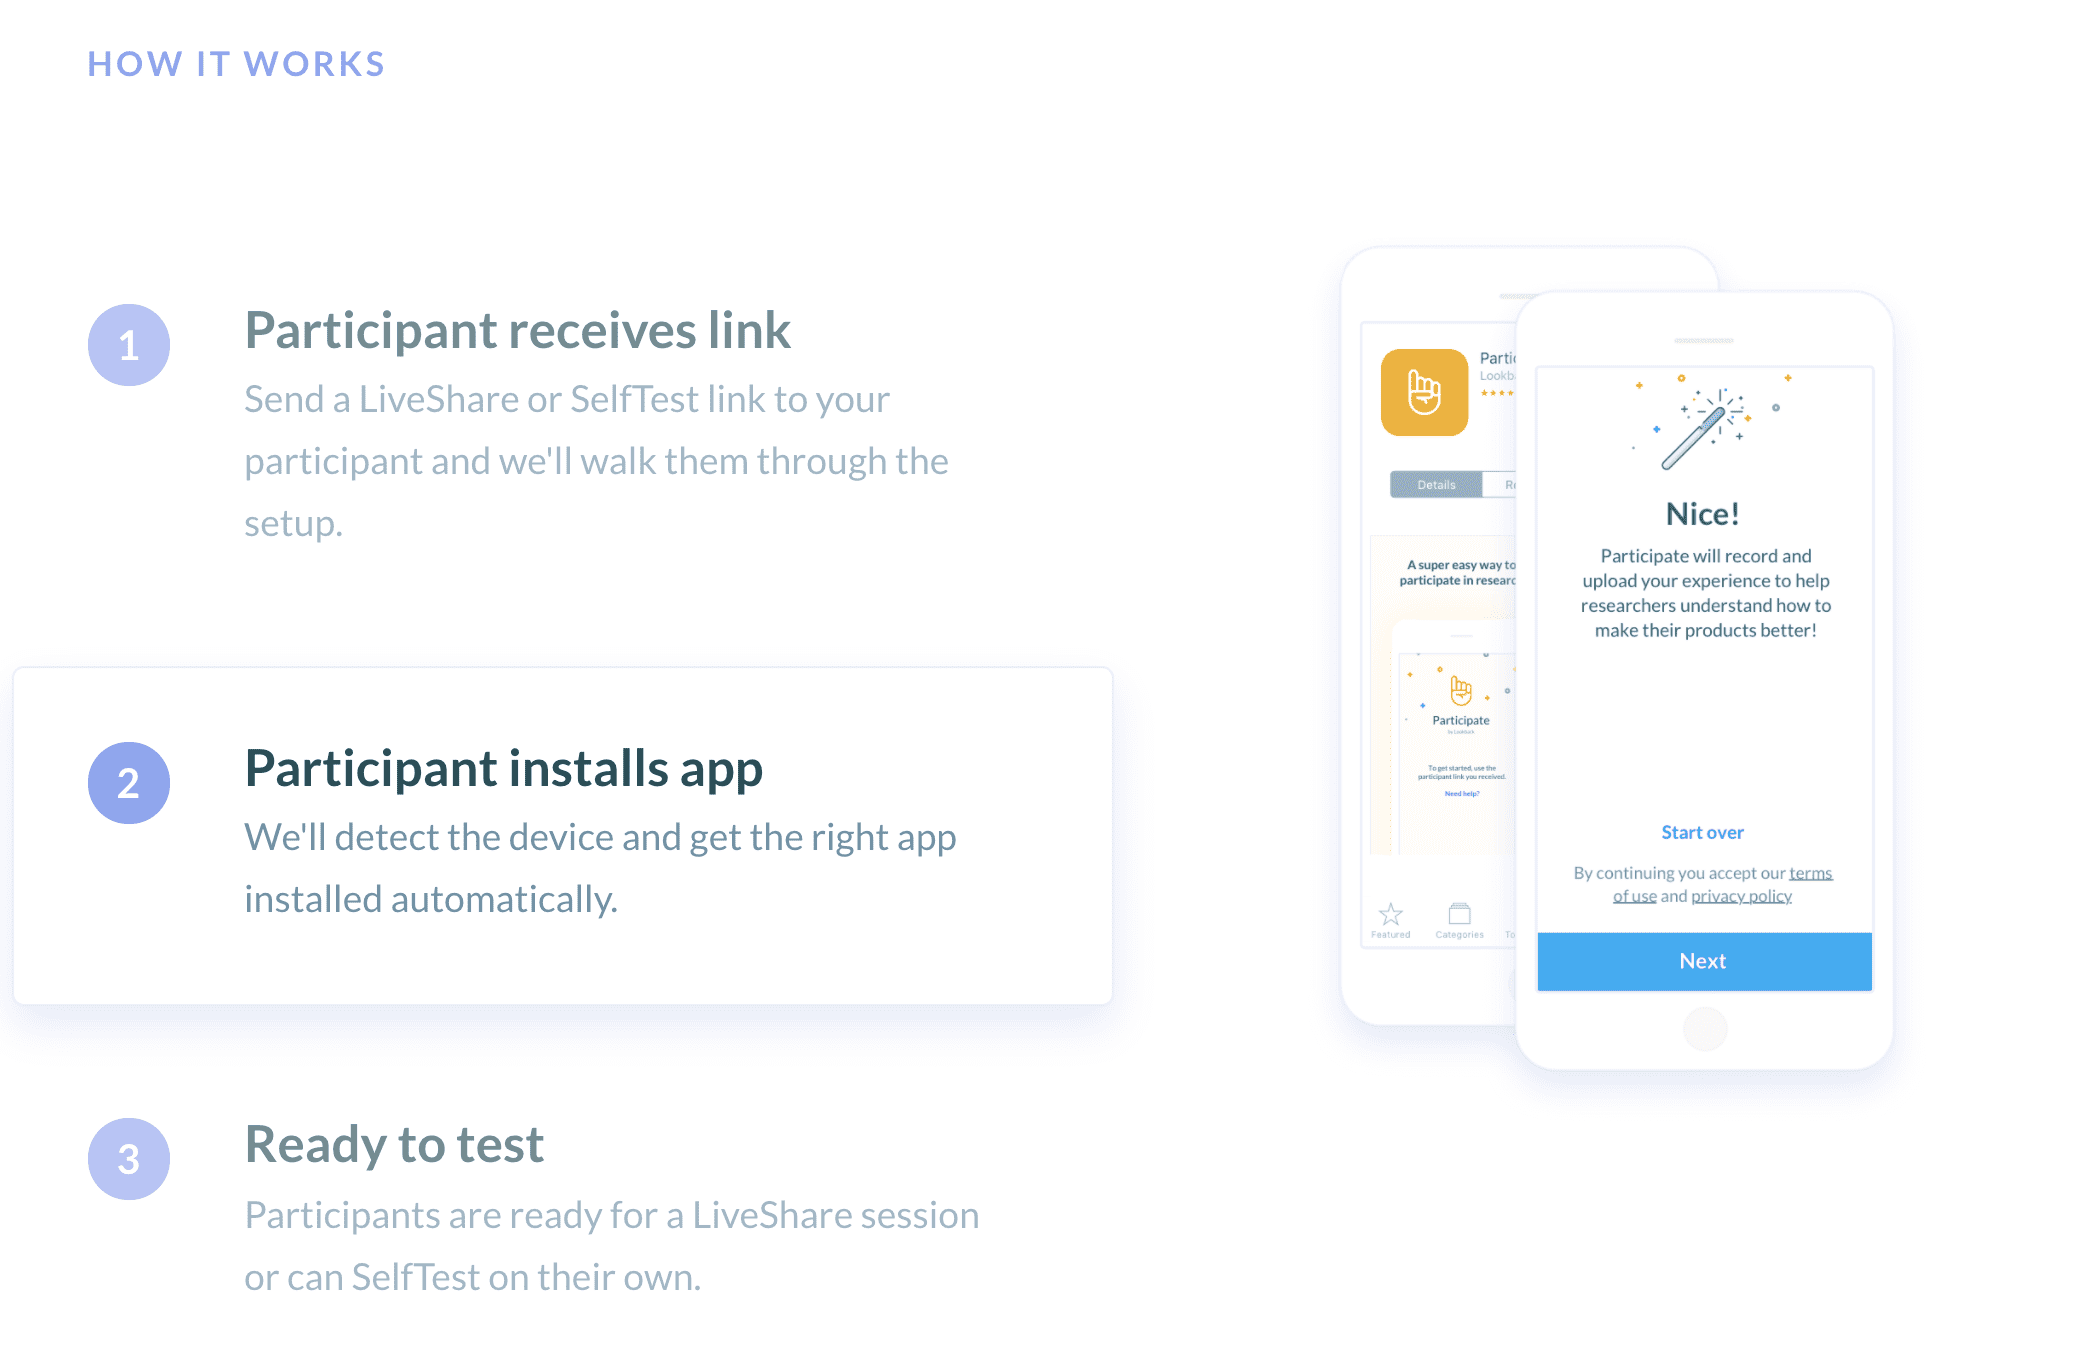
Once you’ve recruited testers, it’s time to prepare for the test itself. What exactly are you going to be testing? Refer back to the goals that we established back in step #1. You’ll use the goals to create objectives for thEarlier I mentioned UserTesting.com as a platform for remote app user testing. But Lookback.io is another popular testing tool and perfect for both moderated and unmoderated app testing.| Platform | Features |
|---|---|
| UserTesting.com | Remote app user testing |
| Lookback.io | Moderated and unmoderated app testing |
 Just make sure you find a platform and finalize your testing environment before you proceed.
Frequently Asked Questions
What are the key stages of app user testing?
App user testing involves defining goals, selecting testing methods, recruiting participants, conducting tests, analyzing results, and implementing changes.
What is the difference between moderated and unmoderated testing?
Moderated testing involves real-time interaction with participants, while unmoderated testing allows users to test independently.
When should user testing be conducted during app development?
User testing should be conducted throughout the development process and after launch to ensure continuous improvement and optimal user experience.
How do I analyze the results from user testing?
Analyze user testing results by identifying patterns, issues, and areas for improvement. Use insights to refine your app’s design and functionality.