Web apps have become essential to our daily lives—powering everything from social media platforms and online marketplaces to productivity tools and online learning solutions. Whether you are an entrepreneur looking to launch a new startup or a developer seeking to build the next big thing, creating a web app is an exciting and rewarding experience.
But where do you start? How do you transform your app idea into a fully functional web app that users will love?
This comprehensive guide will take you through the step-by-step process of creating a web app from scratch. From planning and designing to developing and testing, we’ll cover everything you need to know to create a successful web app that stands out in today’s crowded digital landscape.
Key Takeaways
- Web vs. Mobile Apps: Understand the differences to choose the best platform for your project.
- Step-by-Step Guide: Follow a structured process from idea to launch.
- Types of Web Apps: Learn about static, dynamic, SPAs, and PWAs.
- Programming Languages: Choose the right language and framework for your app’s needs.
- User-Centric Design: Prioritize UI/UX to enhance user satisfaction and engagement.
We’ll also compare web apps to mobile apps and explain the pros and cons of each, so you can choose the best option for your project.
What is a Web App?
A web app is an application that runs in a web browser and uses web technologies such as HTML, CSS, and JavaScript to provide a user interface and interact with server-side components. Unlike native mobile apps, which require installation and run directly on a mobile device, web apps can be accessed from any device with a web browser—making them accessible and convenient for users.
There are several types of web apps, including static web apps, dynamic web apps, single-page apps (SPAs), and progressive web apps (PWAs).
Static web apps are simple and static, consisting of static web pages that display the same content for all users. Conversely, dynamic web apps are more complex and interactive. They consist of server-side components that generate dynamic content based on user input and data.
SPAs load a single HTML page and dynamically update the content based on user interaction—without requiring a full page refresh. PWAs are advanced web apps that use modern web APIs to provide a native-like experience, including offline support, push notifications, and home screen installation.

Web apps offer several advantages over native apps, including cross-platform compatibility, easy maintenance and updates, and lower development costs. Some popular examples of web apps that you might be using in your day-to-day life include Google Docs, Trello, and Asana.
How to Create a Web App in 10 Steps
Now that we have a clear understanding of what web apps are and their different types, let’s dive into the step-by-step guide for creating a web app from scratch.
- Identify the problem and target audience
- Define the features and requirements
- Sketch out the user interface and user experience
- Choose the right programming language and framework
- Set up the development environment and tools
- Develop the front-end interface and design
- Develop the back-end logic and server-side components
- Test the web app for functionality, performance, and security
- Deploy the web app to a hosting service and configure the server and database
- Launch the web app and monitor user feedback and engagement
We’ll walk you through each stage of the process, from identifying the problem to launching and monitoring the web app. Get ready to bring your ideas to life and create a successful web app that users will love.
Step 1 – Identify the problem and target audience
The first step in creating a successful web app is to identify the problem that your app will solve and the target audience who will benefit from it. Start by asking yourself these questions:
- What problem does my app solve?
- Who is my target audience?
- What are their pain points and needs?
- How will my app provide a solution?
Answering these questions will help you define the scope and requirements of your web app, as well as the features and functionalities that you need to include.
For example, if you’re creating a web app for a food delivery service, your target audience would likely be people who don’t have time to cook or prefer the convenience of home delivery. Your app should solve the problem of food delivery by providing a seamless and easy-to-use platform for ordering and tracking deliveries.
Make sure to conduct thorough research and gather feedback from potential users to validate your idea and ensure that there is a demand for your app.
Step 2 – Define the features and requirements
Defining the features and requirements is a critical step in creating a successful web app, as it ensures that your app meets the needs of your target audience and provides a compelling user experience. This includes both the core features that are essential for solving the problem and the additional features that enhance the user experience and differentiate your app from competitors.
Start by creating a list of features that you want your web app to have, and prioritize them based on their importance and impact on the user experience. Consider including features such as user authentication, account management, search and filtering, notifications, and payment processing.
In addition to the features, you also need to define the requirements for your web app. I’m referring to its performance, security, scalability, and compatibility with different devices and browsers. Make sure to document these requirements and use them as a guideline throughout the development process.
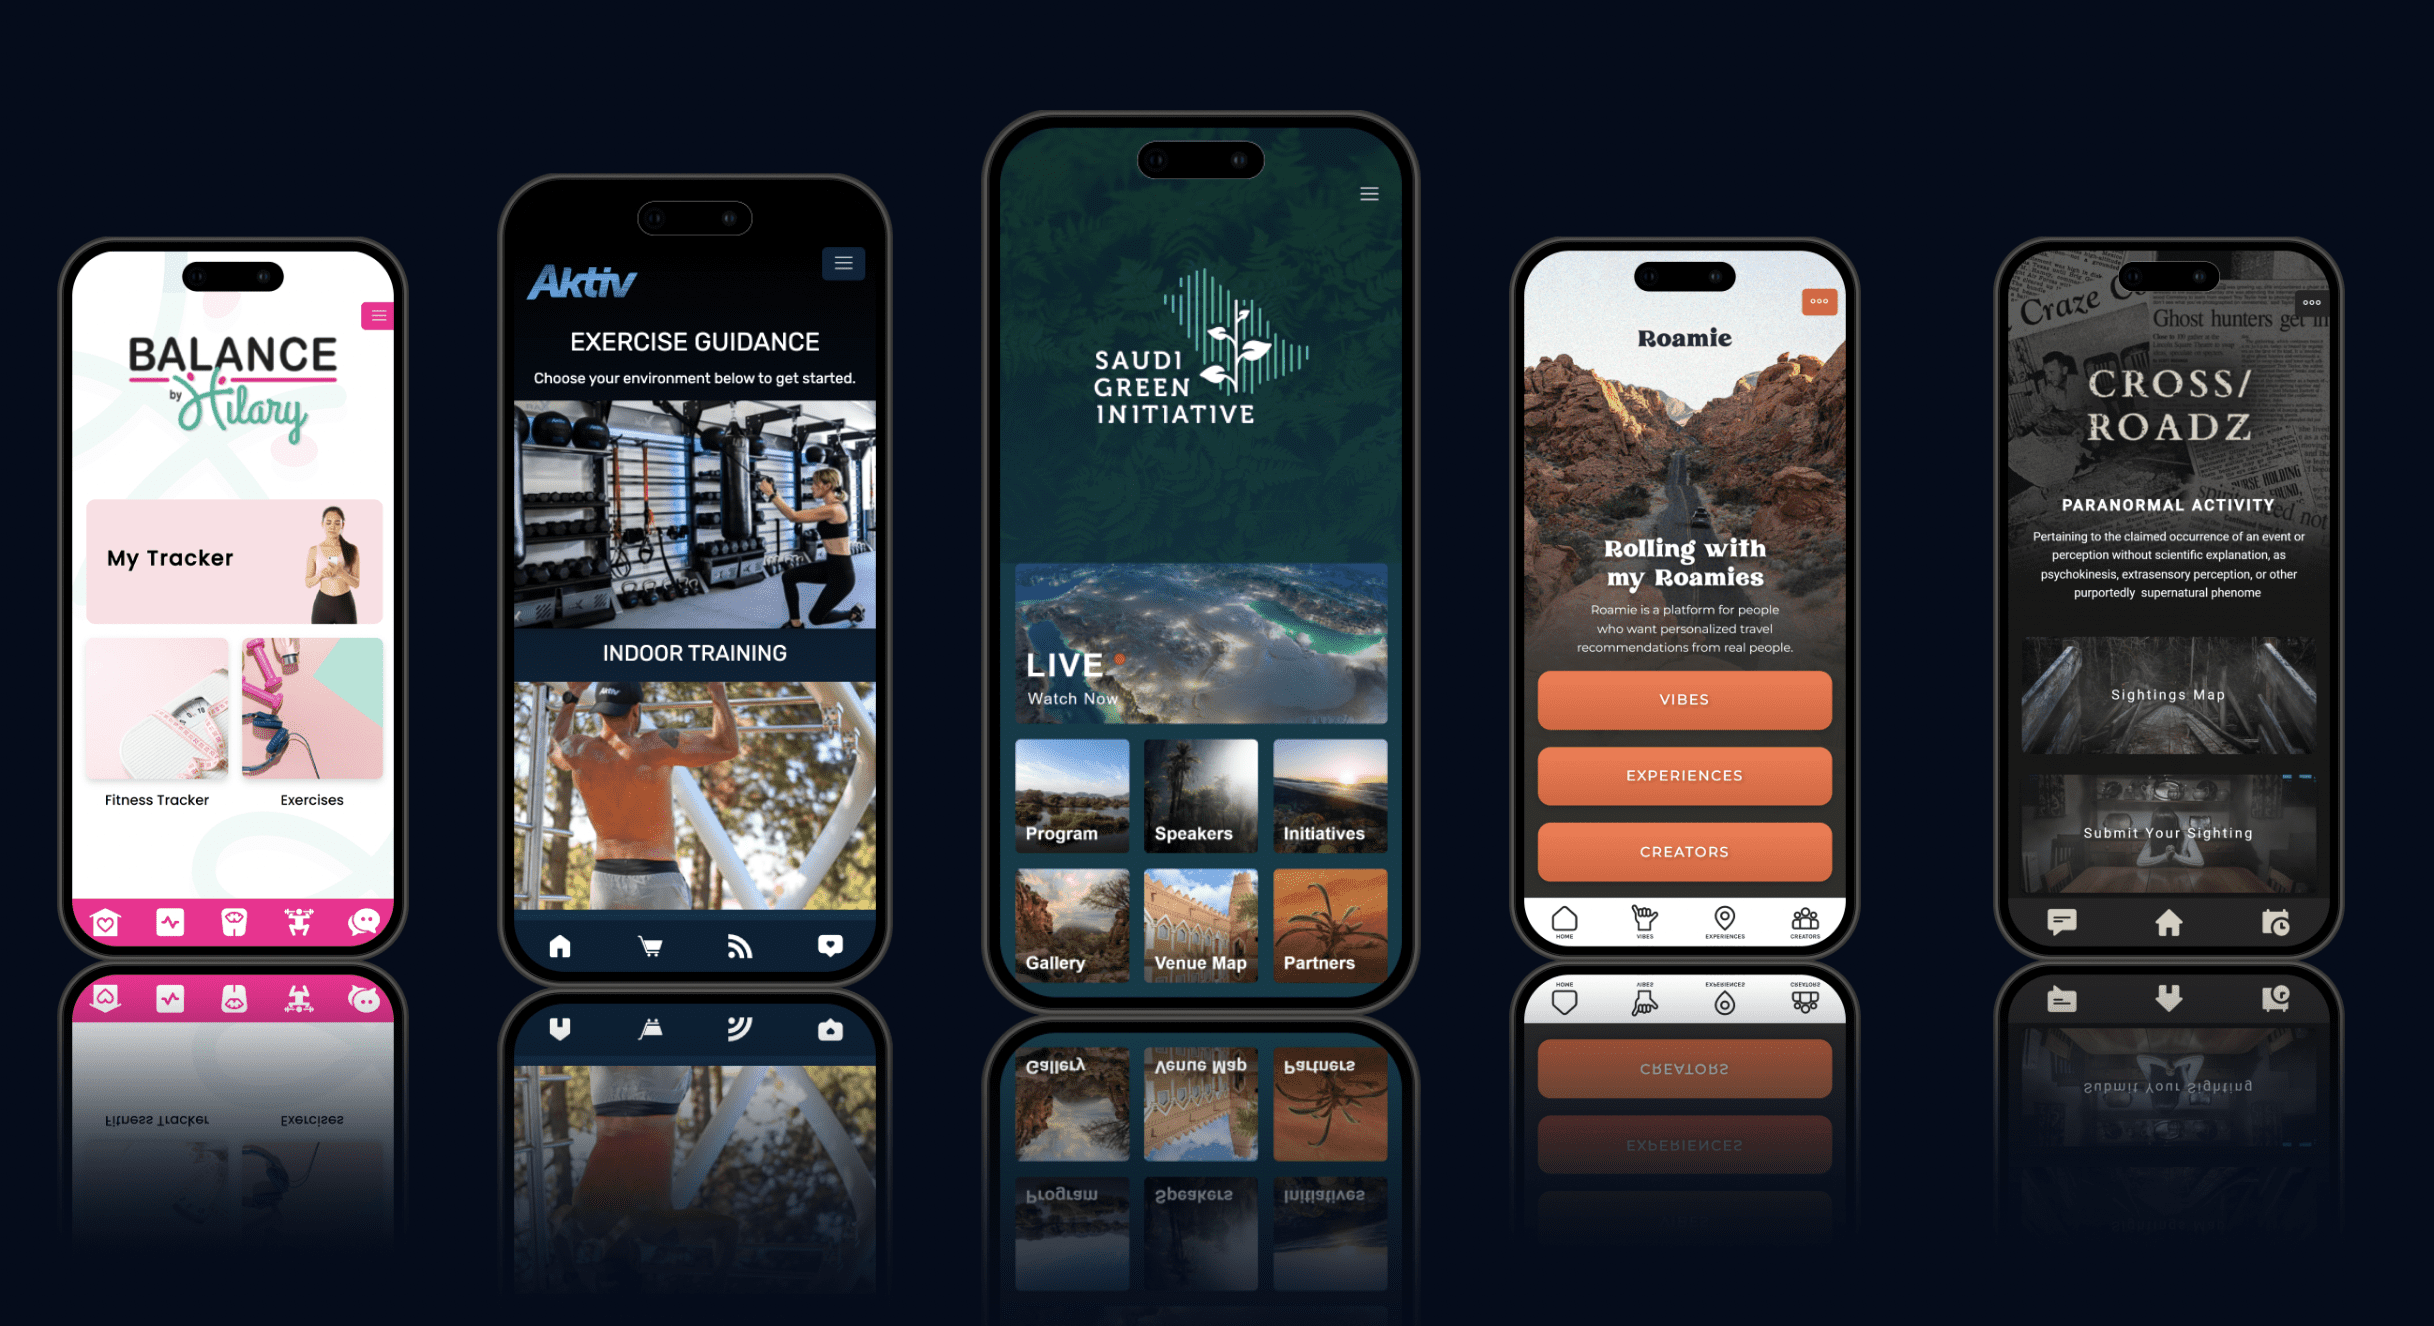
Step 3 – Sketch out the user interface and user experience
Now it’s time to sketch out the user interface (UI) and user experience (UX) design. This involves creating wireframes and mockups of the app’s layout, navigation, and visual elements. You’ll also need to test these visual elements with potential users to gather feedback and improve the design.
The first thing you need to do is identify the key screens and workflows of your app. Then sketch out their layout and navigation.
Consider the user flow and how users will interact with the app to achieve their goals. Use tools like Sketch, Figma, or Adobe XD to create high-fidelity mockups of the screens and add visual elements such as icons, images, and typography to enhance the design.
Once you’ve created the wireframes and mockups, test them with potential users and gather feedback on the design, usability, and functionality. Use this feedback to iterate and improve the design to ensure that it aligns with the needs and expectations of your target audience.
Sketching out the user interface and user experience helps set the foundation for the app’s design and usability. So don’t rush through this step.
Step 4 – Choose the right programming language and framework
This decision depends on several factors. You must consider the app’s complexity, scalability requirements, and availability of developers with the required skills.
Some popular programming languages for web development include JavaScript, Python, PHP, Ruby, and Java. JavaScript is a versatile language that runs on both the client and server side, and is used for building modern web applications such as SPAs and PWAs. Python is usually a good choice for web development due to its simplicity, readability, and its vast library of frameworks and tools.
PHP’s server-side language powers popular platforms such as WordPress and Facebook. Ruby is known for its elegant syntax and the popular web development framework Ruby on Rai
Web Apps vs. Mobile Apps: What’s the Difference?
While web apps and mobile apps share similarities in terms of functionality, there are some key differences between the two that are worth noting. Understanding these differences can help you determine which type of app is best suited for your business needs.
| Aspect | Web Apps | Mobile Apps |
|---|---|---|
| Platform | Run on web browsers | Installed on devices |
| Accessibility | Accessible via URLs | Downloaded from app stores |
| Updates | Updated on the server side | Require user updates |
| Performance | Dependent on browser and internet speed | Optimized for device performance |
Web apps are designed to run on web browsers—like
Arguably the most significant standout of web applications compared to mobile apps is that web apps do not require installation on the user’s device. This makes web apps easy to access and maintain. It also eliminates the need for users to update the app manually.
| Feature | Web Apps | Mobile Apps |
|---|---|---|
| Installation | Not required | Required |
| Access | Easy to access | Installed from app store |
| Updates | No manual updates needed | Manual updates may be needed |
On the other hand, mobile apps are designed to run natively on a mobile device—such as an iOS or Android smartphone. They are installed directly on the user’s device from an app store.
Mobile apps are developed using specific programming languages and frameworks, and they have the ability to access the device’s hardware and features. This includes things like the device’s camera, microphone, and GPS.
While both web apps and mobile apps have their advantages and disadvantages, the choice of which to use largely depends on the app’s purpose, functionality, and target audience.
For example, if your app requires access to the device’s hardware or needs to work offline, a mobile app may be the best choice. However, if your app is primarily content-based or requires frequent updates, a web app may be a better fit.
At BuildFire, we offer mobile app development solutions that help businesses build mobile apps that engage their audience and drive results. Our platform allows businesses to create and deploy mobile apps quickly and easily—without the need for extensive development experience. With BuildFire, businesses can leverage the power of mobile apps to enhance their brand and reach their goals.
Final Thoughts
Building a web app requires careful planning, design, development, and deployment. By following the steps outlined in this guide and continuously monitoring and improving your app, you can create a successful and engaging web app that provides value to your users.
While web apps and mobile apps have their differences, both are valuable tools for businesses to engage with their audiences. At BuildFire, we offer mobile app development solutions that allow businesses to create mobile apps that reach and exceed their business goals.
Whether you’re building a web app or a mobile app, one constant key to success is focusing on your users. Your app must provide a valuable and engaging experience that keeps them coming back. By prioritizing user feedback and engagement and continuously making improvements to your app, you can create a successful and thriving app that helps you achieve your business objectives.
Frequently Asked Questions
What is a web app?
A web app is software you use through a browser rather than installing — the category powering everything from social media platforms and online marketplaces to productivity and online learning tools.
What’s the first step to building a web app?
Identify the problem you’re solving and your target audience, then define the features and requirements. Getting the problem and audience right first keeps the build focused on something people actually need.
How many steps does it take to build a web app?
This guide breaks it into 10 steps, moving from identifying the problem and defining features through sketching the interface and user experience toward a fully functional app.
Do I need to be a developer to create a web app?
The guide is written for both entrepreneurs launching a startup and developers building the next big thing, walking through the process so a non-technical founder can follow the path from idea to working web app.