Mobile app development has become a crucial component of the digital landscape in recent years. However, it’s not enough to just release an app to the public. App testing is a crucial step in the development process to ensure that your app is functional, user-friendly, and ready for distribution.
One of the most popular tools for testing iOS apps is Testflight—a free tool provided by Apple that allows developers to distribute apps to beta testers. With Testflight, developers can identify and fix issues, ensure compatibility with different devices, and improve user satisfaction.
In this blog post, we’ll provide a comprehensive guide on how to use Testflight for your app testing needs. From setting up a Testflight account to analyzing test results, we’ll cover everything you need to know to ensure your app is free of bugs and glitches before release.
We’ll also share best practices for Testflight testing and discuss common mistakes to avoid. By the end of this post, you’ll have a solid understanding of how to use Testflight to make your app the best it can be.
Key Takeaways
- Testflight Overview: Testflight is a free Apple tool for beta testing iOS apps.
- Account Setup: Setting up a Testflight account involves signing in to your Apple Developer account and creating a new app.
- Role Management: Testflight roles include App Manager, Tester, and Developer, each with specific responsibilities.
- Build Uploading: Uploading builds requires archiving in Xcode and choosing the appropriate build type.
- Best Practices: Thorough testing and detailed release notes are crucial for successful app testing.
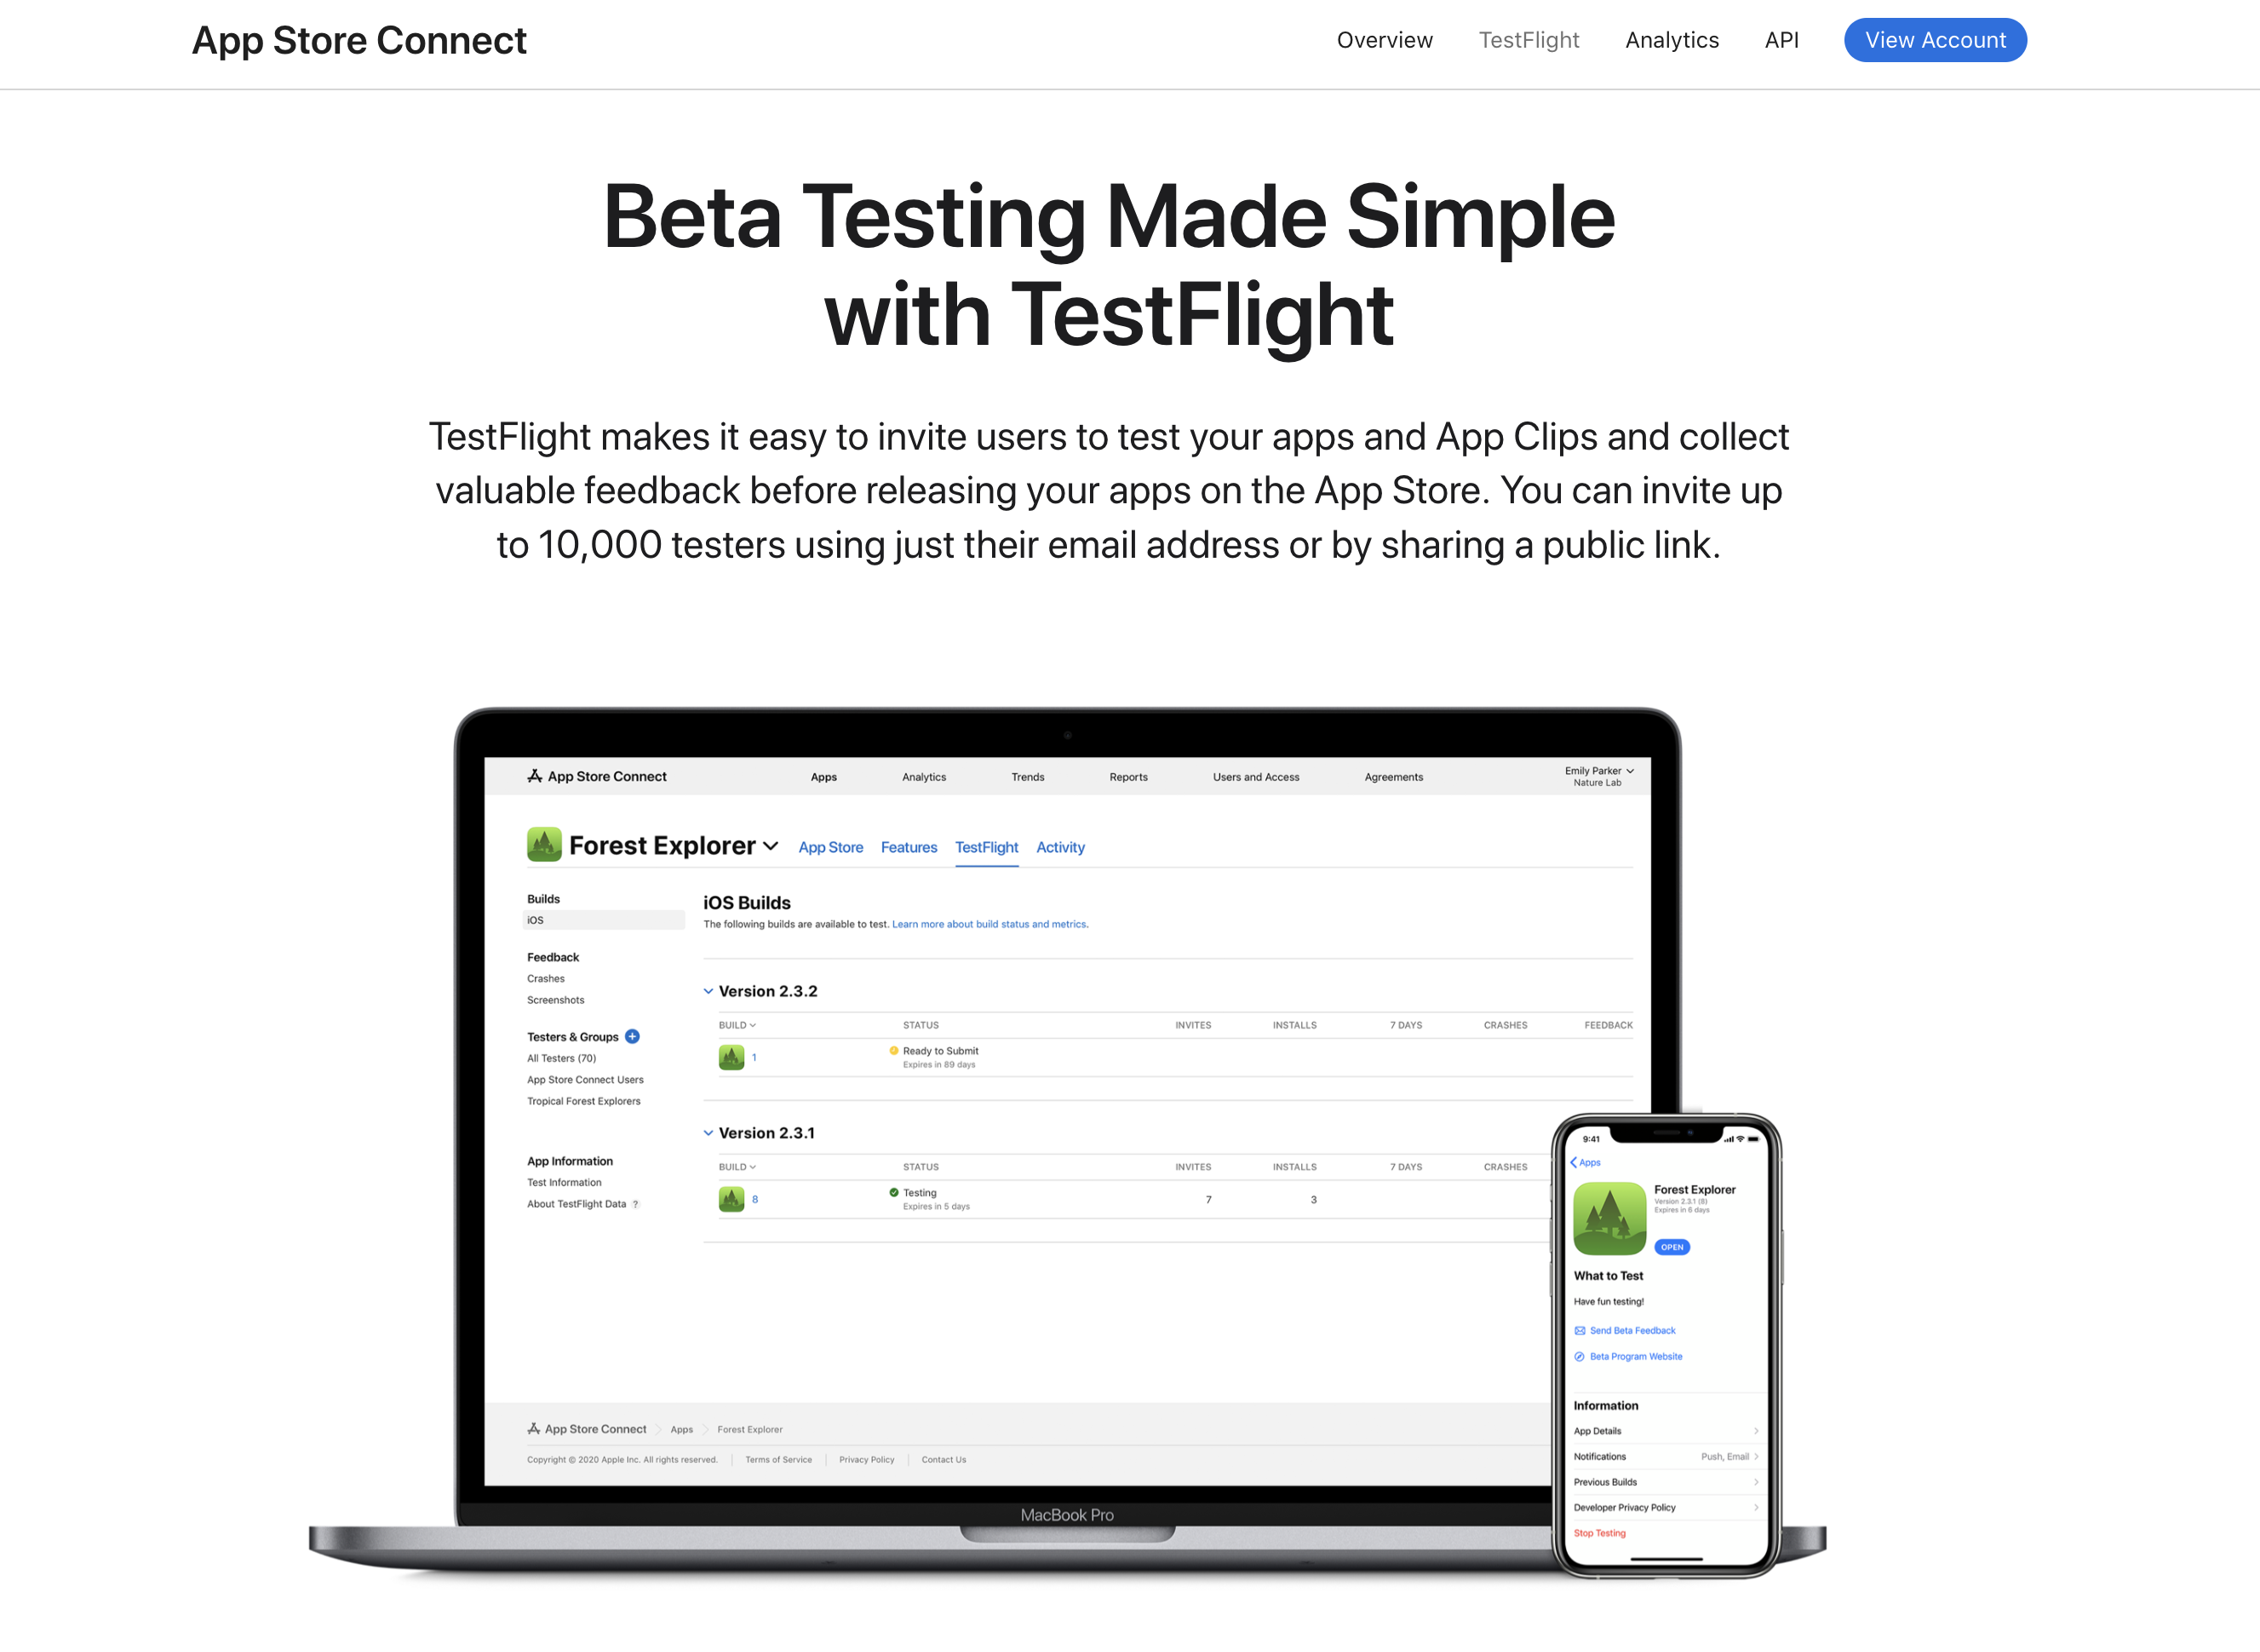
Setting Up Testflight
Before you can start using Testflight for app testing, you need to set up an account. Here’s a step-by-step guide to get you started:
- Sign in to your Apple Developer account. If you don’t have one, you’ll need to create one.
- Once you’re signed in, navigate to the “Testflight” section of the account dashboard.
- Click on the “Start Testing” button to create a new app in Testflight.
- Fill in the required information, including the app name, bundle ID, and primary language.
- Choose whether you want to upload a build of your app or create a new build using Xcode.
- If you’re uploading a build, drag and drop the build file into the Testflight window. If you’re creating a new build, follow the on-screen instructions to build and upload your app.
- Once your build is uploaded, select the “Internal Testing” option to invite testers to try out your app.
- Add testers by entering their email addresses or by sending them an invitation link.
- Choose the version of the app you want to distribute to testers, and then click “Start Testing” to send out invitations.
That’s it! You’ve set up your Testflight account and invited testers to try it out.
Testflight Roles (and How to Assign Them)
Here’s a closer look at the different roles available in Testflight:
- App Manager – Responsible for managing the app’s builds, testers, and testing groups. Managers can upload builds, invite and manage testers, and assign build access to specific testing groups.
- Tester – These users test the app and provide feedback. They can install and test the app, submit feedback, and report bugs to the app manager.
- Developer – This role is responsible for building the app and managing its development. They can upload builds, view app analytics, and manage testing groups.
To assign roles in Testflight, follow these steps:
- Navigate to the “Users and Roles” section of the Testflight dashboard.
- Click on “Invite User” to add a new user.
- Select the role you want to assign to the user.
- Enter the user’s name and email address, and then click “Send Invitation.”
- The user will receive an email invitation to join your Testflight team. Once they accept the invitation, they’ll be able to access the app and start testing.
By understanding the different roles available in Testflight, you can effectively manage your team and ensure that everyone is working together towards the same goal—creating an app that’s ready for release.
Uploading Builds
In app development, a “build” refers to a version of the app that has been compiled and prepared for testing or distribution. Uploading builds to Testflight is an essential step in the app testing process, as it allows developers to share their app with beta testers for feedback and bug reporting.
Here’s what you need to know to successfully upload builds to Testflight:
| Step | Description |
|---|---|
| Archive your app in Xcode | Select “Product” from the Xcode menu and then click “Archive.” |
| Export the build | Select the archived build in the Organizer window. Click “Export” and then select “Export for iOS App Store Deployment.” |
| Upload the build to Testflight | Log in to your Testflight account, select the app, and click “Add New Build.” Drag and drop the exported build file. |
| Choose the appropriate build type | Testflight offers development, beta, and release builds for different testing stages. |
| Provide build information | Include build version, release notes, and app store information. |
| Submit the build for review | Ensure it meets Apple’s guidelines before distribution to testers. |
By following these steps, you can upload your app builds to Testflight and start testing your app with beta testers.
Pro Tips and Best Practices to Ensure a Smooth Build Upload
Here are some tips and best practices for uploading builds to Testflight:
- Test your app thoroughly before uploading to Testflight to minimize the risk of encountering issues during the build upload process.
- Make sure that you’re using the correct version of Xcode to avoid any compatibility issues.
- Uploading builds can take some time, so it’s important to verify that you have a stable and reliable internet connection.
- Create a separate folder for each build to stay organized and avoid confusion. This will make it easier to manage multiple builds.
- Provide detailed release notes to help testers understand what changes have been made in the new build and what they should focus on during testing.
- Use descriptive version numbering to track changes and identify specific builds.
- Keep the app size in mind. Testflight has a 200MB limit on the size of the app file, so make sure that your app is optimized for size before uploading.
- Before submitting a build for review, make sure that your app meets Apple’s guidelines for content and functionality.
- Use analytics to track app performance. Testflight offers built-in analytics tools that can help you track app performance and identify areas for improvement.
- Invite a diverse group of testers to help you identify issues that may not have been caught otherwise, such as device-specific issues or problems with non-native languages.
- Make sure to respond to feedback and bug reports from testers in a timely manner. This will help to build trust and ensure that your testers feel valued.
- Segment your data – Segmenting your data can help you gain a deeper understanding of how different user groups are interacting with your app. For example, you can segment your data by device type, location, or user type to gain insights into how different users ar
| Metric | Description |
|---|---|
| Crash Reports | Identify the root cause of crashes and bugs in your app with detailed reports to prioritize fixes. |
| User Engagement Metrics | Understand user interaction through metrics like user retention, session length, and user flow. |
- Compare data over time – Comparing your data over time can help you identify trends and patterns in user behavior. This can be especially helpful in identifying issues that may not be immediately apparent.
- Use heatmaps – Heatmaps are a visual tool that can help you understand how users are interacting with your app. Heatmaps can show you where users are tapping, scrolling, and swiping, which can help you identify areas where users may be experiencing issues.
- Use A/B testing – A/B testing is a powerful tool that allows you to test different versions of your app to see which one performs better. This can help you make data-driven decisions about how to improve your app.
- Seek feedback from testers – Testflight provides tools for collecting feedback from testers, which can be a valuable source of information for improving your app. Make sure to encourage your testers to provide feedback and take their feedback into account when analyzing your test results.
Frequently Asked Questions
How do I invite testers to my Testflight app?
To invite testers, navigate to the “Users and Roles” section in Testflight, click “Invite User,” select the role, and enter the user’s email.
What are the limitations of using Testflight for app testing?
Testflight limits the app file size to 200MB and requires compliance with Apple’s guidelines.
What should I include in Testflight release notes?
Include changes made, new features, bug fixes, and areas for testers to focus on. Detailed notes help testers provide valuable feedback.